To create a montage at each position do the following steps:
-
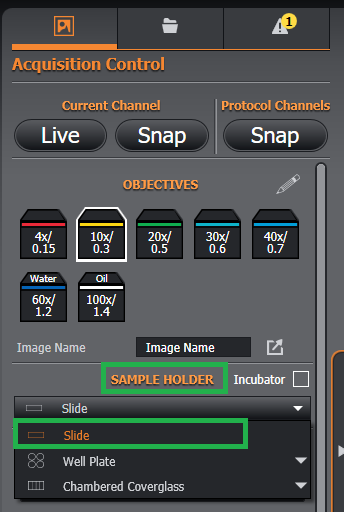
In the Remote panel - choose the sample type - Slide.
-
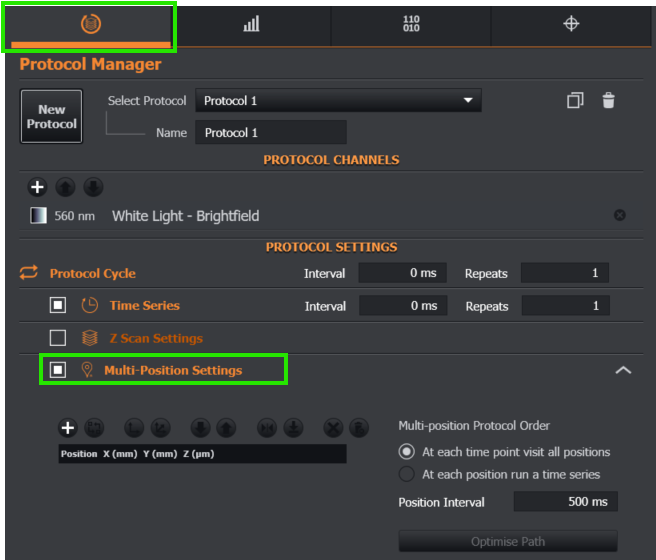
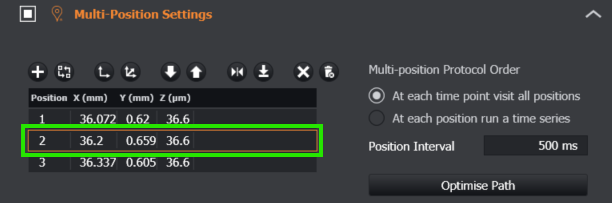
In the Expander panel, go to Protocol Manager and select Multi-Position Settings.
-
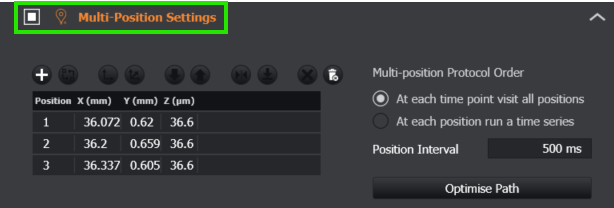
Add the positions to be imaged.
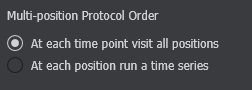
4. Set the Multi-position order
You can change how the positions are visited according to time for the Protocol and if there should be a time delay between each position:
-
At each time point visit all positions Visits all positions for each time point, moving to each successive time point.
-
At each position run a time series Runs a time series at each position in the order shown in the table. A montage shall be run at each time point.
-
Select the type of Montage
You can select either “Tiles” or “Perimeter”. See see https://oiandor.atlassian.net/wiki/x/ZQBD for further information.
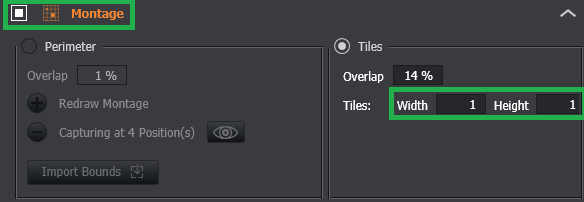
5a. Tile Montage
Select "Montage Enabled" and specify the 'Tiles' montage.
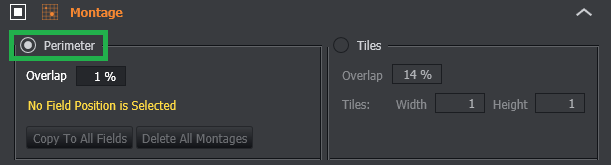
5b. Perimeter Montage (Note this option is only available with a valid Irregular Montage license)
To create a perimeter-defined montage at each position do the following steps:
-
Change the Montage Mode to Perimeter.
-
Expand the Multi-Position settings and select one of the positions in the table.
-
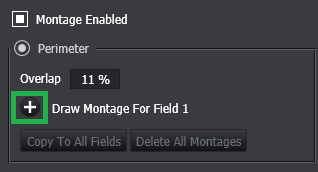
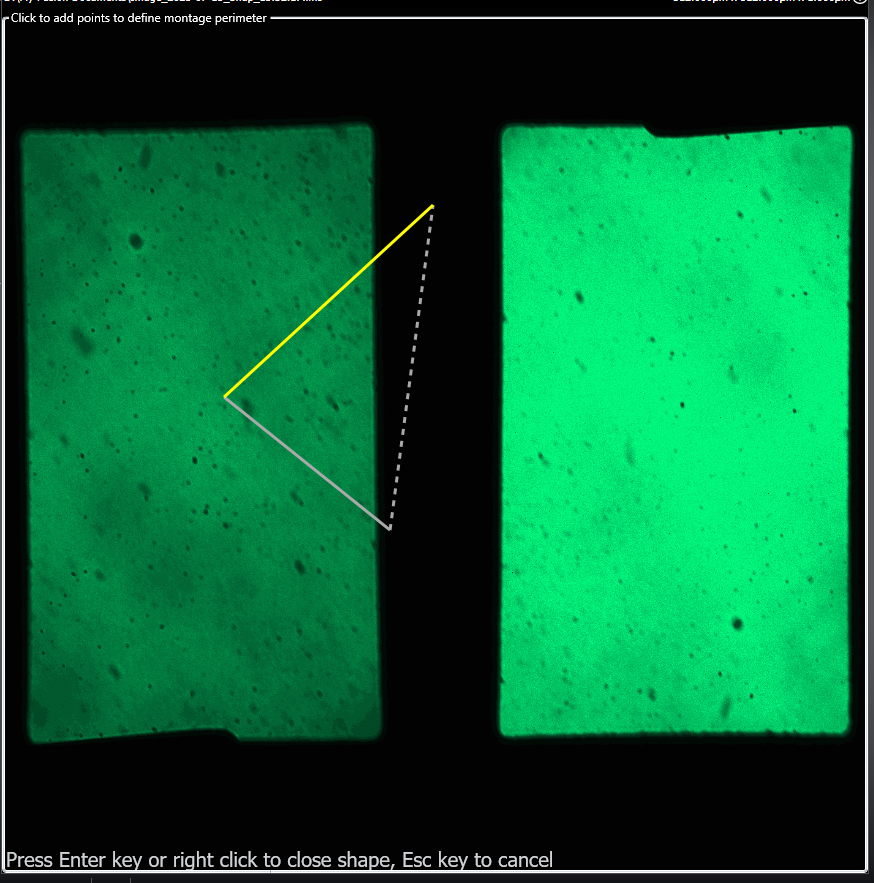
In the Montage section, press the button labelled “Draw Montage for Field“
-
Click on the image to draw the perimeter of your montage. Press Enter or Right-click to auto-complete the perimeter.
-
Repeat the process for each multi-position that requires a montage. Perimeter montages take their Z position from the related Multi-Field.
-
For positions that do not have a perimeter montage specified, a single field is acquired.
-
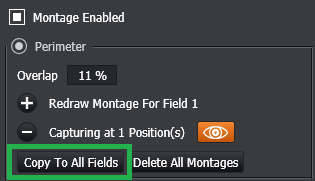
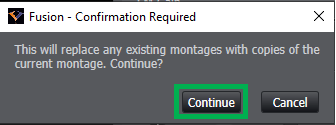
If you want to have the same irregular montage for each position, use the “Copy To All Fields” button. These can then be updated if required, after copying is complete.
-
A confirmation message will appear:
-
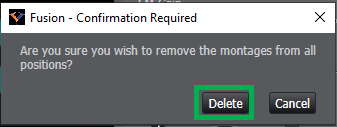
If you need to delete the irregular montages for every position, use the “Delete All Montages” button.
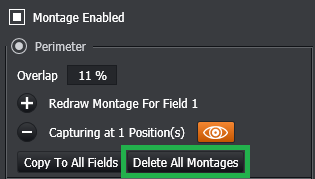
A confirmation message will appear:
Related content
Video tutorial can be found here: Multi Position Irregular Montage