Image Visualisation
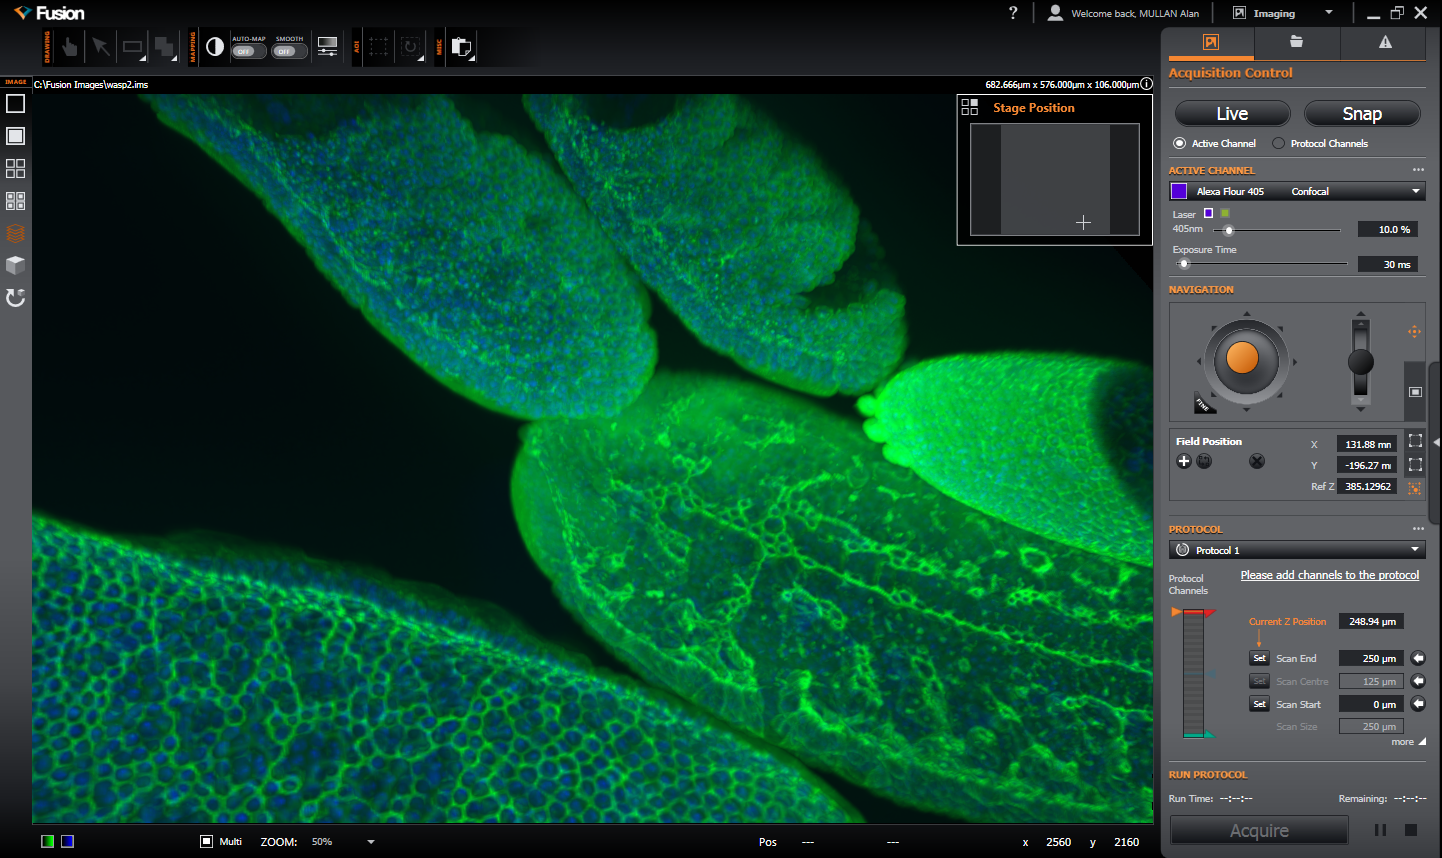
Once you have acquired your image as shown in the section Image Acquisition you may view the image in the Image Viewer. This section guides you through the functions that enable you to change how the image is visualised or displayed on-screen and optimise it for your application and image type.

This includes the following topics:
| Image View | How to set the display mode for your image, selecting which channels should be displayed, using the zoom and pan features and playing back animations of time or Z stacks. |
| Image Navigation | How to navigate the specimen using the navigation tools. This includes the x and y and z axes navigation using the on-screen joystick. |
| Mapping | How to use the image manual mapping functions |
| Calibration Information | How to use the image calibration options. |
After the image has been set to your requirements you may then perform further analysis of the image data- these functions are described in the section Image Analysis. To view how to open, save or manage image data files refer to the File Management section.