Acquisition Control
The Acquisition Control tab is organised into sections as outlined below:
Acquisition controls
Sample Holder
Active Channel
Navigation
Specimen Overview
Protocol
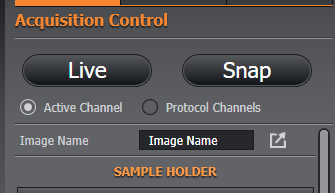
Acquisition Controls
These controls remain static on the remote panel outside of the scrollable sections.
Live
This provides a real-time live view according to the current settings.
Snap
Take a snap-shot of the current view.
Active Channel/Protocol Channel
Allows the users to select between the active channel or protocol channels for Live and Snap acquisitions.
Run Protocol
Start acquisition according to the selected protocol settings.
Click Acquire to start the acquisition. Pause and stop controls may be used to pause or stop an acquisition in progress. The Run Time for the protocol and the time Remaining until the protocol is complete is also displayed.
Note: If a protocol has not been configured and selected, Define a protocol is displayed in place of Acquire. Clicking the link will take you to the Protocol Manager to enter the required protocol settings.
If one or more protocol triggers has been defined (see Triggering Protocol Options) then the Fire Triggers button and selection button will be visible.
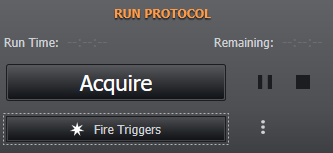
Pressing the trigger selection button opens a popup to allow for selection of one or more triggers to fire.
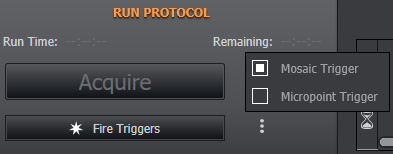
Pressing the Fire Triggers button will fire the selected triggers.
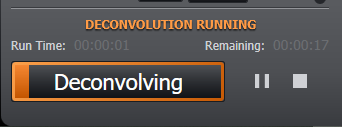
Deconvolution / Stitching progress
If a deconvolution or stitching operation is running, the Run Protocol area will display the progress of the deconvolution/stitching operation.

Sample Holder
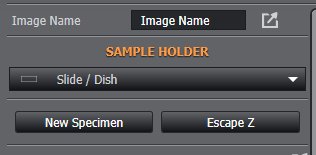
Image Name
Allows the user to edit the image name and a quick navigate to the File Manager.
Sample Holder
Allows the user to choose between Slide/Dish, Well Plate or Chambered Coverglass.
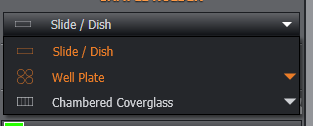
For a list of supported sample holders please check Sample Holder.
New Specimen
This option clears the current bounds and escapes the current objective.
Escape Z
Escape the objective to a safe position.
Refocus

Refocus the objective once the specimen is loaded onto the stage. Once the specimen is refocused you can reset the Bounds or continue to use the existing Bounds of the previous specimen
This option is only available after Escape Z.
Active Channel
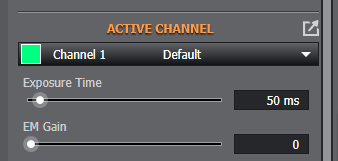
Adjust commonly used parameters for the active channel. Use the drop-down menu to view the current protocol channels available. Use the Channel Manager shortcut to view the channel manager settings.
Adjust Laser power for the currently selected laser as a percentage of maximum power
Adjust EM Gain (EMCCD cameras e.g. Andor iXon EMCCD Series).
Adjust Exposure Time (ms) note that the exposure time is dependant on the acquisition device. If the exposure time entered is not possible, the closest value that the acquisition device can achieve will be used.
Navigation
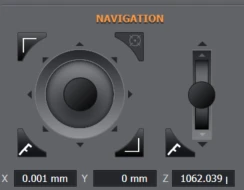
Locate areas of interest and focus without the need to go near the scope.
Move the stage in X,Y and microscope Z axes (where available) using the on-screen joysticks. The movement can be set between Coarse movement (default, fastest speed), Fine (move in the finer increments) and SuperFine (move in the finest increments).

The movement settings may be adjusted in Preferences, Navigation Settings.
Once bounds have been set (see Set Bounds below), the bounded stage view button allows movement by clicking inside the map shown below:
In Navigation view with only one bound set (Cannot view bounded stage view)
Set bounds for the top left and bottom right corners. This can be used to ensure you don't navigate away from the region of interest within a sample completely. A sub-window will appear to highlight the current position of the stage within the set bounds.
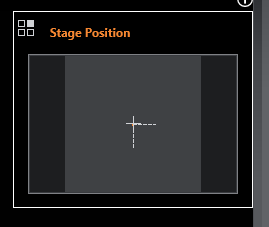
The Lock and Unlock buttons let you lock or free the set bounds as required, while Clear removes the set bounds completely. Refocus may be used to refocus the current image. Use the refocus control to adjust focus up or down for the current objective. When a new sample or specimen is to be viewed use New Specimen to clear the set bounds and escape the current objective settings.

The X, Y and Z positions are available from the remote panel.
Go To Button
Moves the Stage to the selected area
Set Bounds
Provides the user a visual boundary to apply
Specimen Overview
Preview Montage
Will capture and show an image of the area defined by the Width and Height. These will adjust to fit stage bounds if applied but can be edited within the range. See also Specimen Navigation.
Width limited to 10
Height limited to 20
Stage Bound Preview Montage
Will capture and show an image of the area defined by stage bounds. See also Specimen Navigation.
Protocol
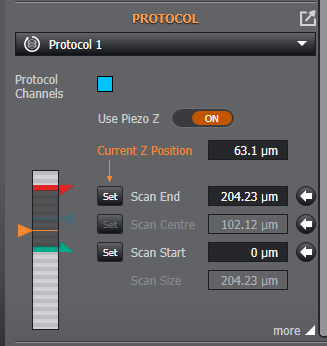
This menu enables the available protocols to be quickly selected and displays the settings for the current protocol. Use the drop-down list to select between available protocols. Use the Protocol Manager shortcut to view the Protocol settings.
Use Piezo Z for Scans. If the system is fitted with both a piezo and microscope Z, this will toggle between which device is used for Z scans. The piezo is much faster, but has a limited range. Default: ON
Z-position. Adjust the current Z device position (orange). For Start/End mode (see below) the start position is highlighted red and end position highlighted in green for the Z-scan. If Centre/Size mode is selected the centre position is highlighted in blue. Note - When using the piezo as the Scan device in a Multi-Field Protocol, the stack will always be centred. When using the microscope, the stack will start at the Ref. Z position if the stack has been defined using Start/End. The stack will be centred if it has been defined using Centre/Size. See also Adding Fields.
"more". Click "more" to view additional options. Click "more" again to return to the previous menu.
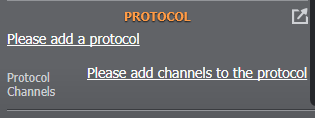
Note: If a protocol has not been configured, an on-screen prompt Please add a protocol is displayed. Clicking the link will take you to the Protocol Manager to enter the required protocol settings.
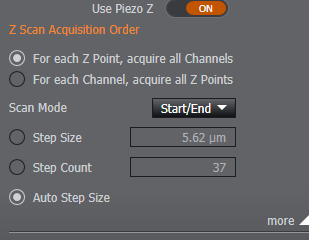
Select the order of the Z-scan Acquisition:
For each channel, acquire all z points: runs through the Z-scan for each channel before moving to the next channel and repeating the Z-scan across all points. Use this option for the shortest total acquisition time when using different emission filters for different Channels. However, the delay between Channels will be the total time to complete each Z-scan.
For each Z point, acquire all channels: acquires all channels at each Z point, moving on to each subsequent Z point and repeating the process until the Z-scan is complete. Use this option for the smallest delay between Channels when using different emission filters. The total time for the protocol may be longer.
Scan Mode: Select between Start/End mode or Centre/Size mode. Note - When using the Piezo as the Z Scan device, the Z-stack will always be centred on the current microscope position. When using the microscope as the Z scan device, Start/End will define the start of the Z-stack. See also Adding Fields.
Select between defining the scan by Step Size, Step Count or Auto Step Size. In Auto Step Size, the optimal step size for the Z-stacks is determined (based on Nyquist sampling) given the optical characteristics of the system.