Using the Navigation functions
The specimen can be navigated through the X, Y and Z axis (where available) using the on-screen joystick functions. An overview of the navigation settings is shown in Navigation Settings.
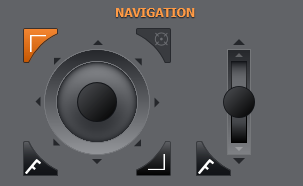
Using the Joystick to navigate through X and Y axes
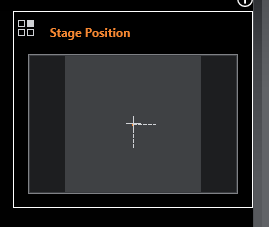
The joystick can be used to move the stage through the X and Y axes. A small sub window appears in the main image viewing window showing the stage position.
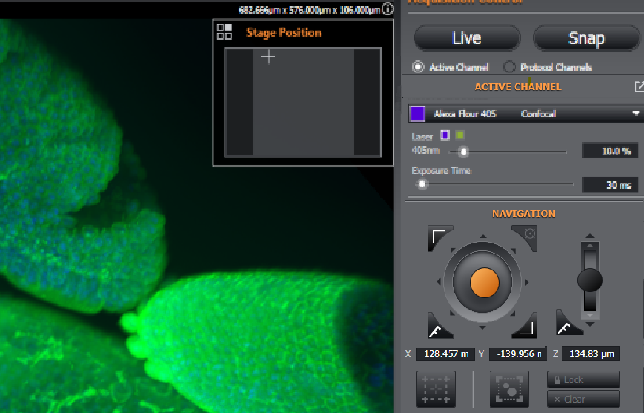
Above - Using the on-screen joystick for navigation. Note the sub-window showing the current stage position.
The position of the Stage Position sub-window can be adjusted to appear in a different corner of the image viewer panel. To do this, click the box that corresponds to the corner of the image viewer panel you want the sub-window to appear at (the default is top-right).
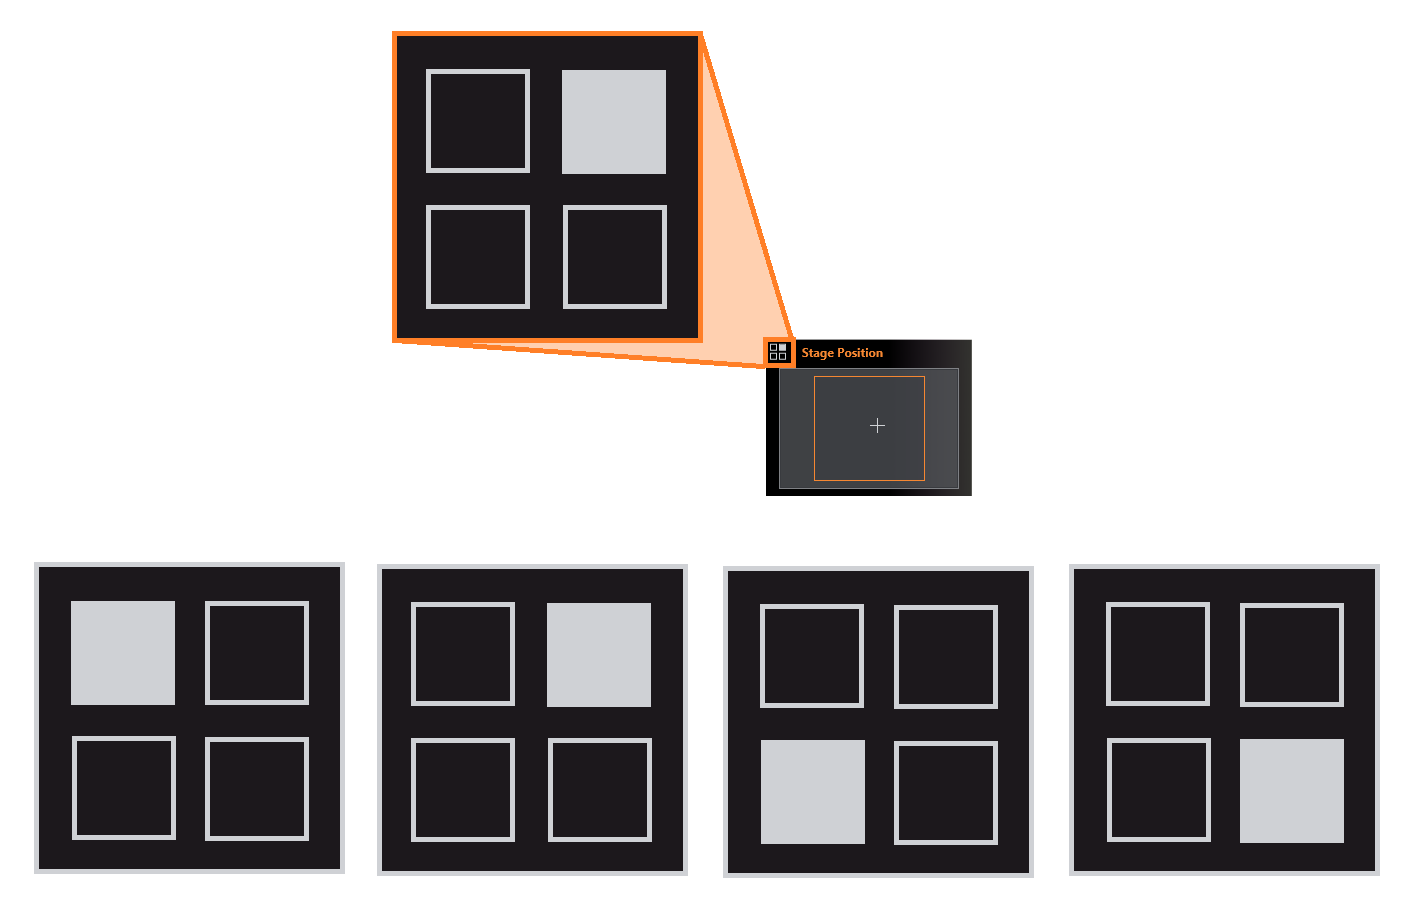
Above - Setting the position of the sub-window, shown from left to right: top left, top right (default), bottom left, bottom right.
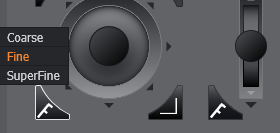
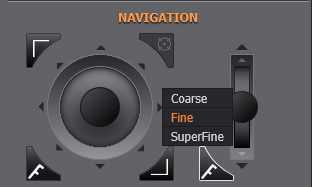
The speed of the joystick can be set between the default coarse (faster) movement, fine (smaller) movement or Superfine (even smaller again). These step sizes can be changed in Navigation settings Preferences) Click to open the menu and select.
Above - Fine movement mode activated for joystick navigation for both XY and Z.
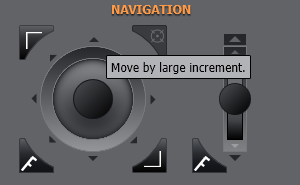
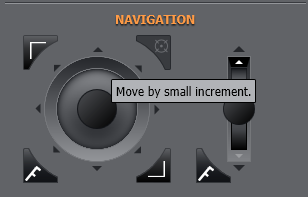
You can also use the outer and inner nudge function keys around the joystick to move the stage in a large, or small increments respectively:
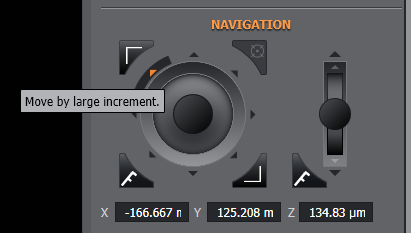
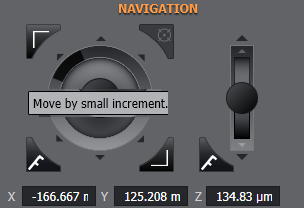
Above - Top: the large nudge key and Bottom: the small nudge key. Values for these can also be set in navigation preferences.
NOTE - If this (software) stage joystick is not functioning as expected, please refer to the F.A.Q.
Navigating through the Z-axis
It is also possible to manually navigate through the Z- axis (where available) using the Z-axis joystick. Depending on the system being used, this could be the microscope (also known as Ref Z) or the Piezo. The appearance of the joystick will change depending on whether a microscope or piezo is available. If both are available, the microscope will be used.

Above - Using the Z axis joystick to move the microscope Z
The speed of the joystick can be set between the default coarse (faster) movement, fine (smaller) movement or Superfine (even smaller again). These step sizes can be changed in Navigation settings Preferences) Click to open the menu and select.
Above - Fine movement mode activated for joystick navigation for both XY and Z.
You can also use the nudge function keys above and below the Z-axis joystick to move the stage in a large, or small increments:
Above - Top: the small nudge key and Bottom: the large nudge key. Values for these can be set in Navigation settings.
Setting bounds
It is possible to confine navigation to within a defined area using the Set Bounds function for the top left and bottom right corners. This can be useful that you stay within a desired region of the sample or specimen.
Above - the top left bound has been set.
Set bounds for the top left and bottom right corners of the image. Once that has been done, a sub-window will appear to highlight the current position of the stage within the set bounds to aid navigation and orientation of position for the specimen.

The Lock and Unlock buttons let you lock or free the set bounds. By using Unlock, any set bounds are stored so they can be locked again later as required. Using Clear will remove the set bounds completely.

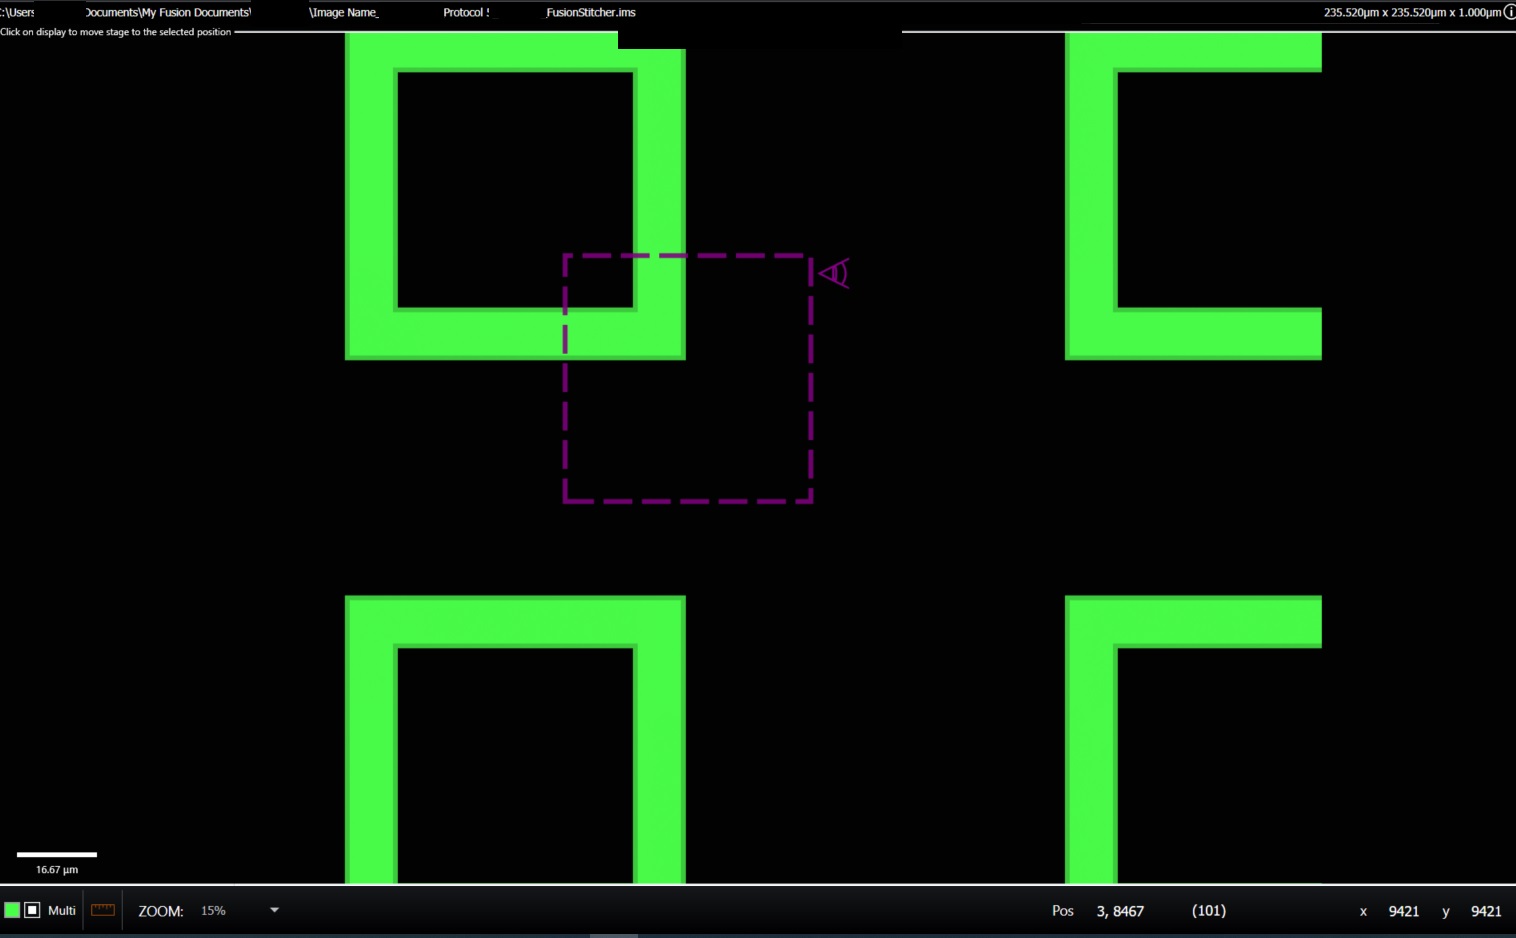
Click to navigate: When enabled, this option allows you to click any point on your image and the stage will navigate to this position. This is useful when defining a Multi-Position protocol, or observing areas of interest within a larger specimen. A field position indicator will appear on the image when this mode is enabled showing the area of the sample that is currently in view by the camera. The field position indicator tracks the position of the stage and the magnification of the system to provide an up to date indication of the current view. When Live acquisition is initiated the image shown will correspond the the area shown by the field position indicator.
Specimen Overview
The specimen overview provides an effective way to obtain an overview of your specimen. This applies to one channel only. Switching to a different channel will reset the process and you will have to start over. The options available are described below.
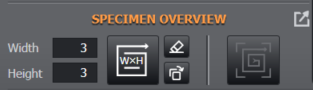
Perform a Quick WxH Montage: this expands the image on the existing specimen overview, or creates a new specimen overview dataset if one does not already exist.
-
Clicking the button will take a spiral montage of the sample of the specified width and height (e.g. 3 x3) around the current stage position.
-
Moving the stage to a new position and clicking the button will add the montage from the new position to the existing specimen overview so that the image of the specimen can be built up incrementally.
-
If the button is clicked more than once without moving the stage between clicks, then the montage at that stage position will be expanded by one tile in each direction.
-
Note that changing to a different channel and clicking the button will result in the entire specimen image being cleared and restarted with the new channel.
-
When using Quick Montage, only the montage tiles that are not already present in the specimen overview will be imaged.
![]()
![]()
![]()

Bounded Quick Montage: If the image bounds have been set, this function will run a montage based on the set XY Bounds.