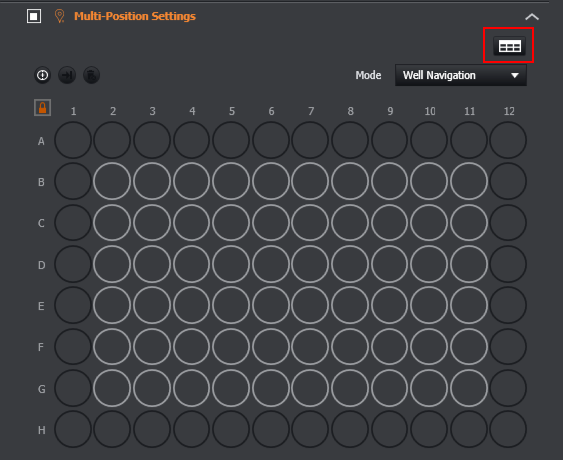
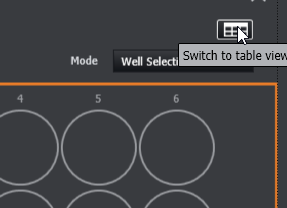
The user can work using the well plate interface displayed. Alternatively, by clicking on the table button (highlighted), the user can go to Navigation in Table View.
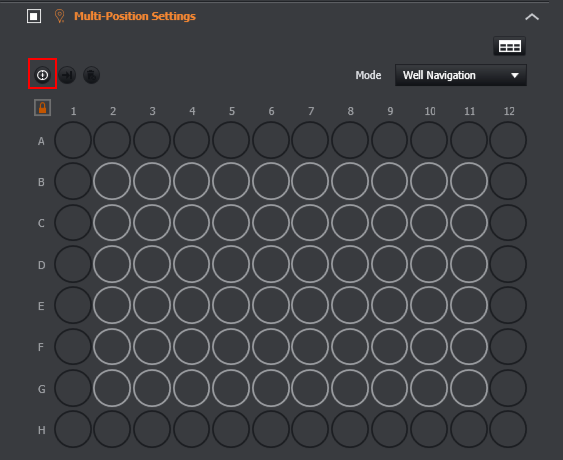
Well plates are pre-calibrated, but if recalibration is needed, the user should click on the icon highlighted below.
For an explanation on how to recalibrate the well plate please go to Recalibrating
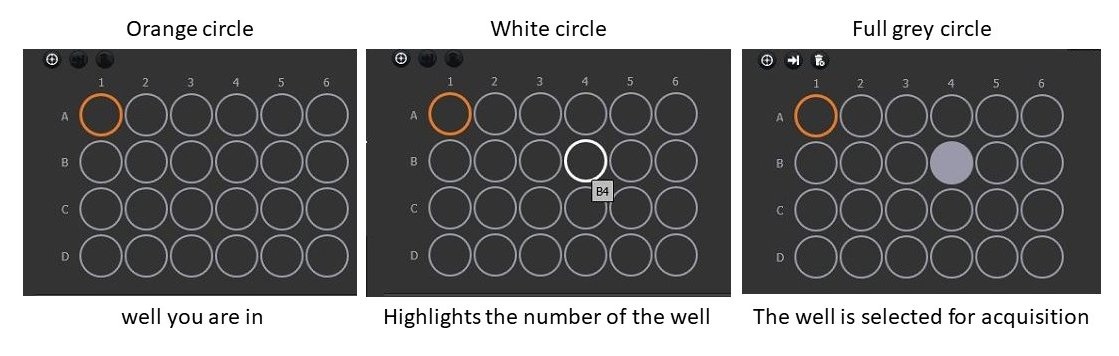
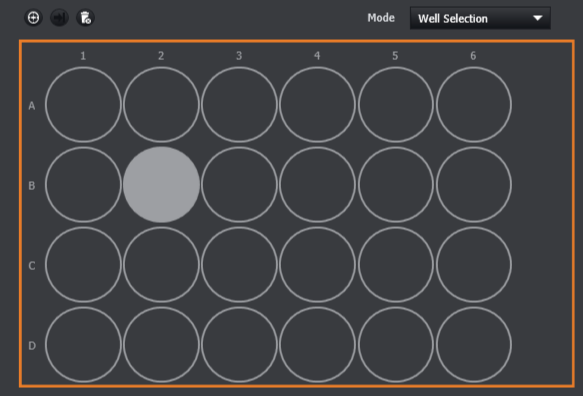
The wells present different colour codes:
-
Orange outline - the well the user is currently in.
-
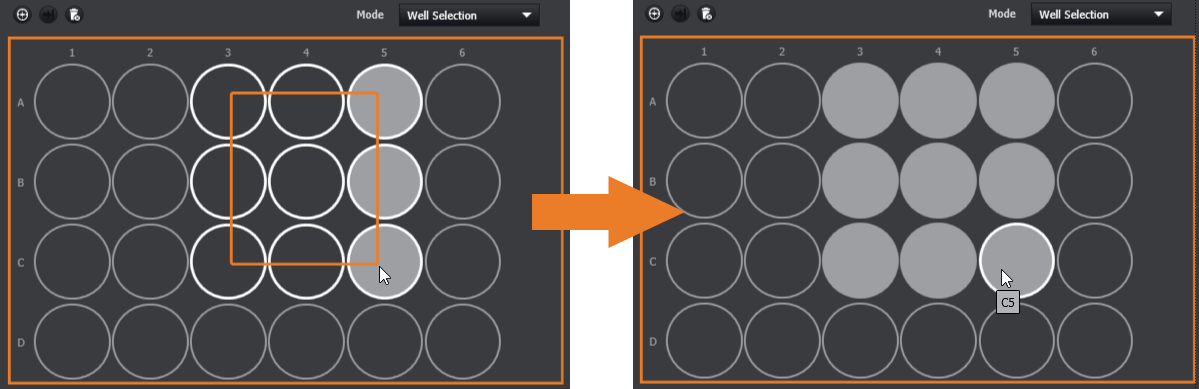
White outline - the well the user is currently hovering over. Well number is displayed in the tooltip.
-
Full grey circle - well selected for acquisition.
There are 2 different modes Navigation and Selection. You can switch between these modes by selecting them from the Mode combo box in the top right of the Multi-Position window.:
Selection
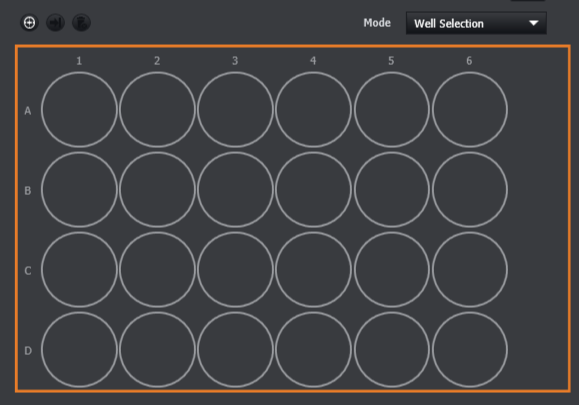
This mode is used to select wells for image acquisition.
Selecting Wells
There are 2 methods for selecting wells. You can double click an individual well to select it:
Or you can click and hold the left mouse button and drag the mouse over multiple wells to select them all at the same time:
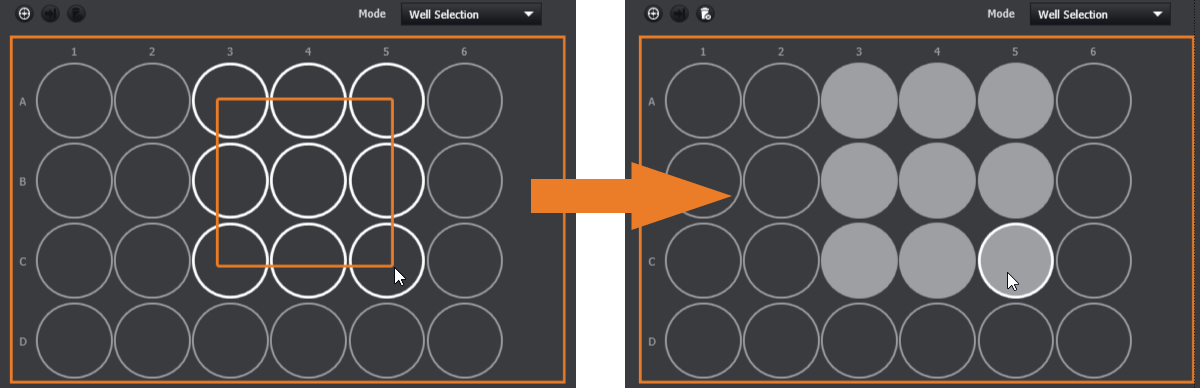
If you click and drag over a combination of selected and unselected wells, Fusion will select all wells
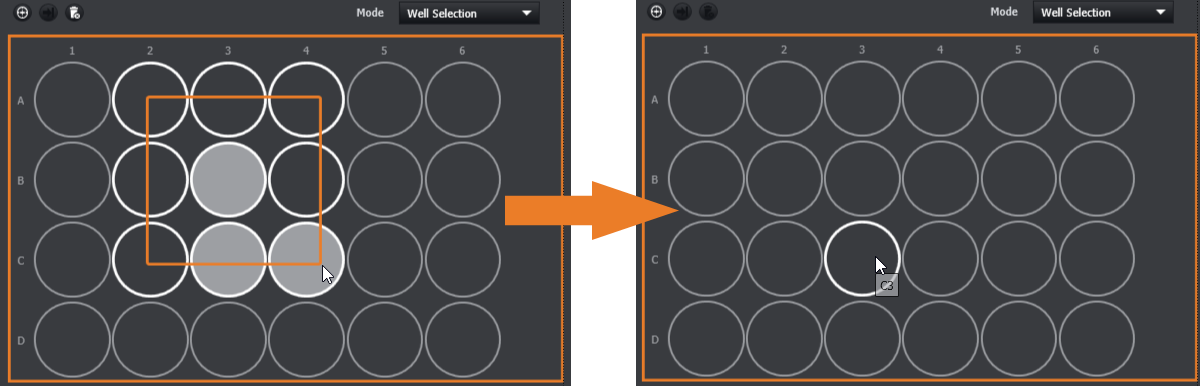
Deselecting Wells
The same process is used to deselect wells:
Double clicking on a selected well will deselect it.
Left click and hold while dragging the mouse over previously selected wells to deselect them.
NOTE: If you click and drag over a combination of selected and deselected wells, all the highlighted wells will be selected.
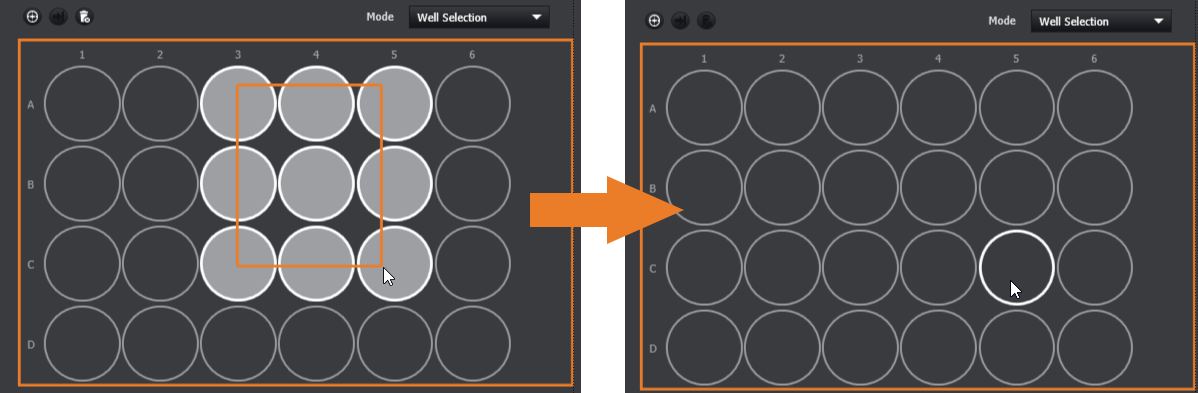
You can also right click and hold while dragging to deselect all the highlighted wells. This will deselect all the highlighted wells regardless of whether they are selected or deselected:
-
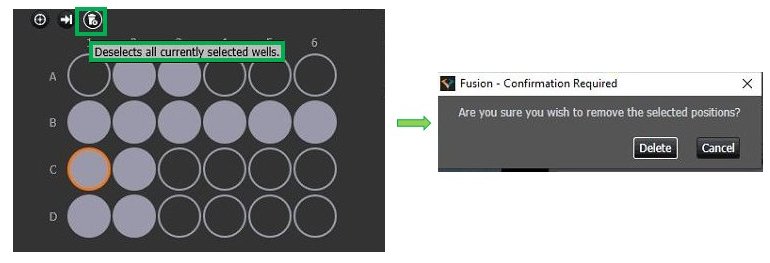
To de-select all the wells, click on the icon highlighted in green.
-
A warning for confirmation will appear.
-
Click delete - well selection is deleted.
-
Click cancel - well selection is maintained.
-
Wells will be acquired in the order they are selected. You can check and reorder this list by clicking the table view button:
For more information on how to use the table view, see the Navigation in Table View page.
Navigation
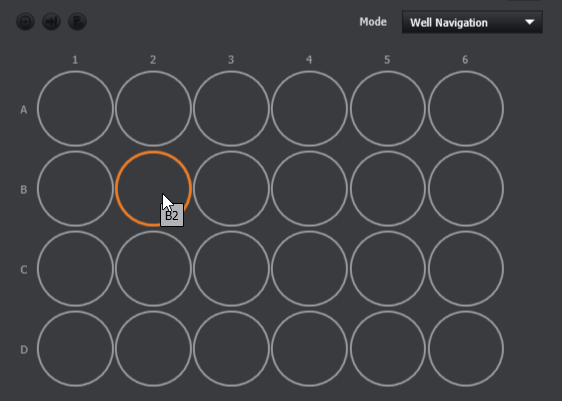
In this mode, double clicking a cell will navigate the stage to that position. This will be indicated by the orange highlight around the cell.
Once there are multiple wells selected, you can cycle through them using the go to selected well button:
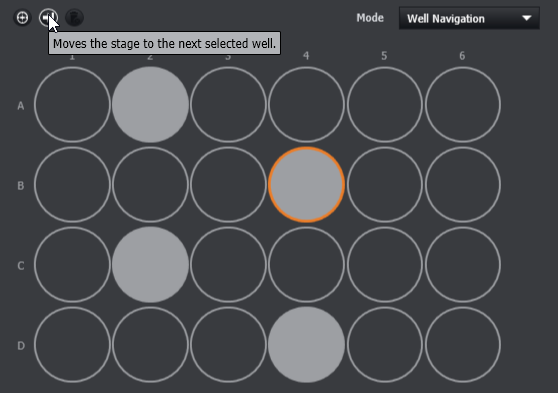
Clicking this button will navigate the stage to the next selected well. This is based on the acquisition order, which can be checked by using the table view.
Its best to select the wells in the order you wish to acquire them, however the order can be changed in the table view. The go to next selected well button can be useful to cycle through all the selected wells to review them before acquiring the protocol.
Protocol Order
The protocol acquisition order can be changed in the table view:
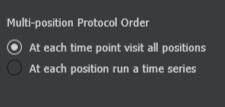
At each time point visit all fields - For every time point in the protocol, Fusion will acquire all selected wells. This is the default option.
At each position run a time series - Fusion will acquire all the time points at a selected well before moving onto the next one.
Extra information for 96+ Well plates
-
After calibration, the external rows and columns are locked.

For Well plates with more than 96 wells, there is a potential objective crash hazard in the outer wells, especially at higher magnifications. These wells are locked for navigation by default, but can be unlocked if required.
The unlock outer wells navigation, simply click the lock icon in the top left. You will be warned of the potential dangers of this:
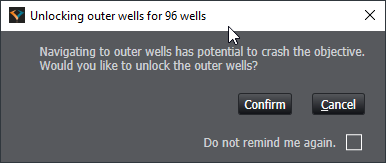
After confirming, the outer wells will be available for selection:
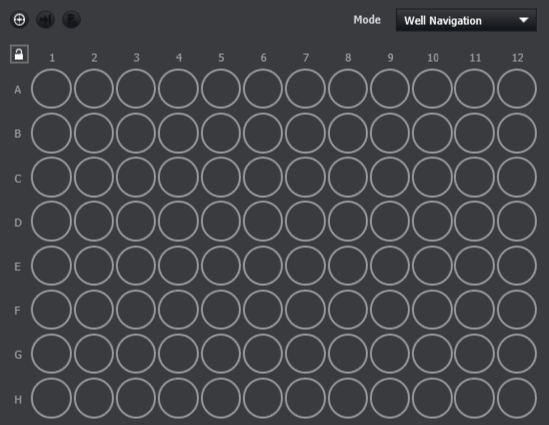
You can relock the wells by clicking the lock icon again.
The user can now run a protocol.
-
The selected well positions have to be combined with the acquisition channels (see adding channels to a protocol).
-
Multi-Well positions can also be combined with other protocols feature such as Time Series, Z Scan, Montage, Drift Stabilization settings, Image Processing and loop options.
-
Go to Creating a Protocol to have more information on the specific protocol type you want to combine with the Multi-Well positions.
-