Fusion includes built-in image stitching / tiling / montage functionality.
See also Creating a Montage and Specimen Navigation for details on how to acquire a montage image.
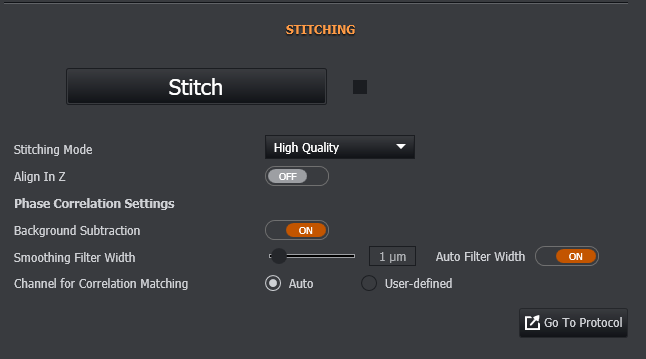
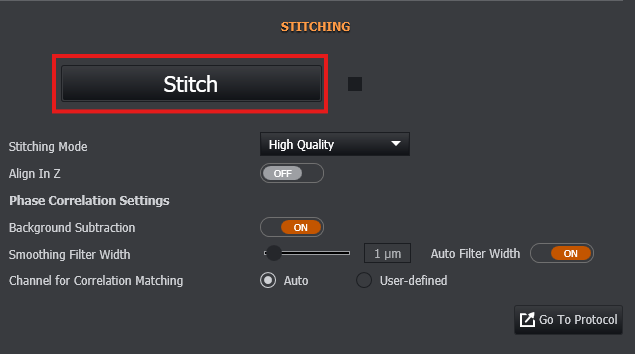
To start the Stitching Process press the Stitch Button
Stitching Options
Stitching Mode
There are 2 options with this setting.
-
High Speed: this is the fastest method and will place images together based on their coordinates from the XY stage.
-
High Quality: this method is slower but will examine the images for similar features and match neighbouring positions together much more precisely.
Align in Z
The Align in Z option will align features along the Z Dimension as well as in the X and Y dimensions.
Note: Default is off. Recommended to be used with Focus Map acquisitions when focus of the sample varies in the Z dimension.
Phase Correlation Settings
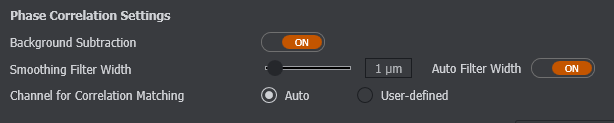
The next section of options relating to stitching is the Phase Correlation Settings.
Background Subtraction
When enabled alignment will be based on image features that are a similar size to the filter width. When disabled it uses features larger than the filter width for alignment.
Smoothing Filter Width
Auto Filter Width automatically sets the value for the smoothing filter width based on resolution and pixel size. Manual override allows the user to specify the smoothing filter width.
Note: When background subtraction is enabled image sharpening is applied before alignment takes place.
Channel for Correlation Matching
The final section under the stitching options is Channel for Correlation Matching. This is the channel in the protocol that will be used to find features for aligning captures. In the case of User-Defined the user will have to select which channel to use. In the case of Auto, the first channel in the protocol is used.
Furthermore Stitching can also be enabled during acquisition in the Protocol Manager tab:

When Apply Stitching is enabled, the options set in the Stitching section of the Image Processing tab will be applied.
Troubleshooting
If the resulting image does not look correct (for example, the overlap or the rotation of some / all images is incorrect, please check the F.A.Q (Frequently Asked Questions).