Once you have created a Channel and found an Area of Interest on your Specimen you are ready to take your first snap.
-
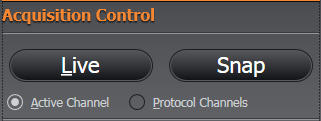
Ensure the Active Channel radio button is selected- to snap based on the active channel setting, or select Protocol Channels to snap based on a protocol.
-
Click the Snap button on the Remote Panel.
-
The resulting image will be displayed- use the image viewing options to adjust the display as required (refer to the Image Visualisation section)
Ensure you have setup your lightpath correctly:
-
Choose the correct excitation and emission filters
-
Select a suitable Exposure Time
-
Ensure any shutters are open
-
Select the correct Port to image from
-
Choose a suitable objective to give you the required field of view