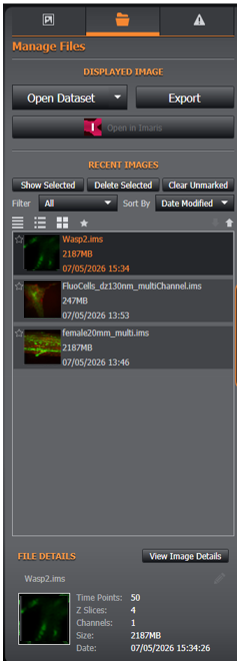
Manage Files
Displayed Image
Image files are easily managed through the Fusion File manager using the open and export options.
By default, Fusion will acquire all images in IMS format and store them in the Root folder defined in the File Manager Preferences.
Hovering over an image will show a tooltip and also the location of the file on the computer.
Opening Image Files
To open a previously acquired dataset click Open Dataset and select any file from the dataset in the file explorer. This opens all related files that were generated during the protocol to which the selected file belongs.
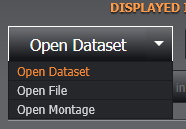
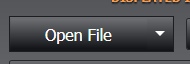
If instead, you want to only open a single file representing one of the positions from a protocol, click the drop down icon, and select the Open File option. Now when the button is clicked and a file is selected from the file explorer, only that file opens.
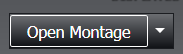
If the positions in a protocol contain a montage, then the Open Montage option, available under the drop down icon, can be selected so that only images from the montage to which the selected file belongs are opened.
Note: Using Open File or Open Montage significantly reduces the load time for large datasets.
Video tutorial can be found here: Open File, Dataset or Montage
The following image formats are supported:
-
Imaris: IMS format
It is possible to Open In Imaris to open in Imaris for image analysis- if Imaris is installed on the acquisition workstation.
-
Select an Image
-
Click Open in Imaris

-
Imaris application (if installed) launches
-
The selected file opens in Imaris in Surpass.

If this button is greyed out / inaccessible, it could be that either Imaris is not installed on the system, or a version has been uninstalled. Running the Imaris installer and selecting "Repair" should resolve the issue. Please ensure the image you wish to open in Imaris is the current image on your display.
Export
To export an image (remember that Fusion acquires all data to IMS files in the Root directory, therefore Exporting is usually only necessary to save a file as another file type):

-
Select an Image and open it (Show Selected or double-click)
-
Click Export (this will export the current image only)
-
Enter a File Name
-
Select the file type (file format) (OME TIFF is the default export file type)
-
Set the file location to export the file to
-
Click Save
Recent Images
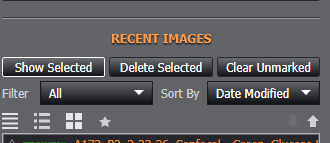
Show Selected
To open an image in the Recent Images list:
-
Select an Image in the recent Images list
-
Click Show Selected to open (alternatively double click an image to open)

-
If an image is already open you will be prompted to save it to avoid losing image data.
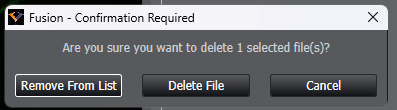
Deleting Image Files
To delete an image in the Recent Images list:
-
Select an Image in the recent Images list
-
Click Delete Selected to delete it (alternatively select an image and press delete)
-
Fusion will ask if the file should be deleted from the computer or only removed from the list of images.
-
Select Delete File if you wish to delete it permanently, select Remove from list if you wish to remove from Recent images but keep the data, and lastly, press cancel if you wish to do neither.
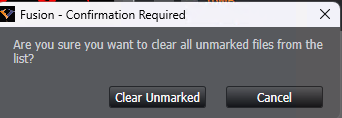
Clear Unmarked
This will clear all unmarked images from the list, leaving only the images you wish to keep in Recent Images file view.
-
Favourite the images you wish to keep on view
-
Press Clear Unmarked to remove the unmarked images
-
You will be provided with the option to Clear unmarked images from the list, or to cancel
If you wish to keep all images, but want to view only the marked favourites, you can also filter rather than clear.
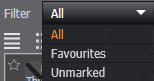
Filter
Filter allows the user to change what is currently displayed in Recent Images. It is defaulted to All.
You can select the filter to view All, Only Favourites or only Unmarked.
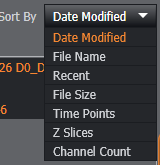
Sort By
Sort by allows the user to sort the Recent Images by a selection of their choosing. The Default is Date modified, which is the most recently opened image first.
The user can select from:
Recent Images View
Recent Images View is defaulted to Thumbnail list. All Icons will remain white but will highlight Orange as below when hovered over and not the currently selected view.

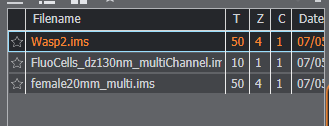
List View: This will show the images in a list with filename, Time series, Z stack, channel and date information. No Thumbnail.
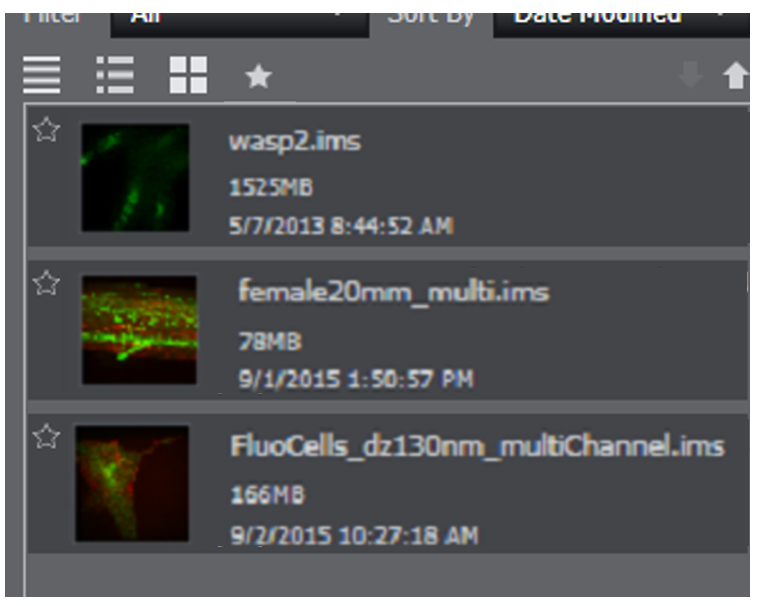
Thumbnail View: This will show the images in a list with a Thumbnail. file name, size and date time.
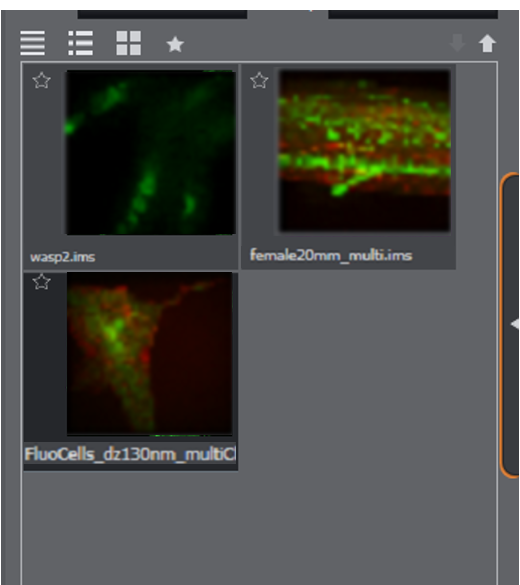
Tile View: this will show the images only by Thumbnail and file name.
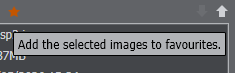
The Star Icon allows the user another option to Favourite the currently selected image:
The arrows allow the user to sort Ascending or Descending:

|

|
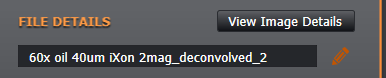
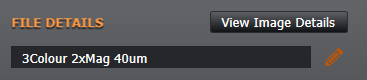
File Details

At the bottom of the screen, the details of the file can be seen.
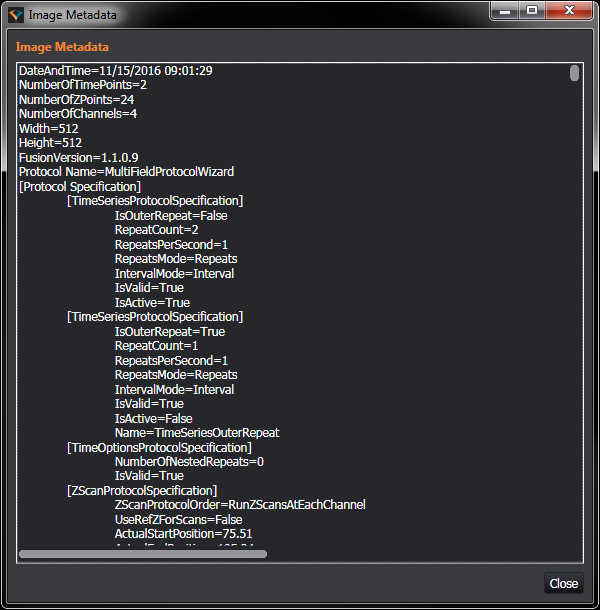
Clicking View Image Details will open an additional window, showing all of the metadata.
This data is automatically saved as a .txt file in the Root folder when the image was acquired. In this window, the usual Windows shortcuts of CTRL-A (Select All) and CTRL-C (copy) allow the data to be copied to the clipboard. Alternatively, clicking and dragging allows a limited selection of data to be selected.
Edit File Name
To Edit the name of the file within Fusion File Manager, please ensure the file is not currently being displayed and the pencil icon is enabled:
If the pencil is disabled then you cannot edit the name of the file*:
Click on the pencil to enable the editable text.
The .ims file extension is not editable and will be added to the end after editing.
Use the text box to edit the name of the file :
Then you can either click enter, or click on the pencil icon. Your new image name has now been saved.
*If the file is currently open on the display, you will not be able to edit. Close the image or open a different image. If this does not work please ensure the image is not in the recycling bin or a folder you do not have rights to edit.