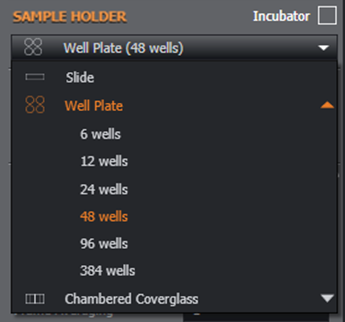
1. Select the Multi-Well type
Click on the sample holder, and select the specific well plate to be used. The multiwell UI will only be available if you select a Well Plate or Chambered Coverglass sample holder.
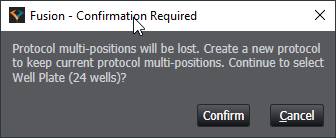
Note: A warning will appear if you have a protocol with previous positions selected.
If you want to keep previous positions, please create a new protocol before selecting the well plate type to use
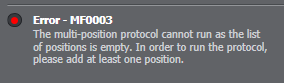
If the list of positions is empty, a red warning under warning notifications will also appear.
Note that this warning will disappear once you add a position, allowing you to proceed with your protocol.
2. Go to Protocol Manager and enable the Multi-Position protocol element.
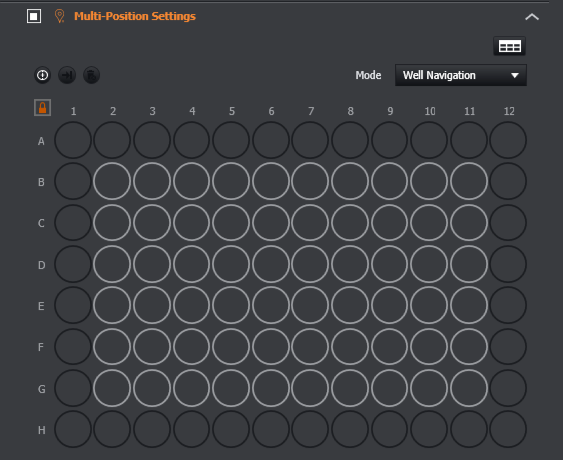
You will be presented with the Multi-Well UI.
Note: For some well plates, such as the 96 well plate pictured, the outer wells are locked by default and you cannot navigate or select them.
This is to prevent accidental collision of the objective with the motorized stage aperture boundary when the wells are close to this. If you are confident the objective will not collide with the stage (e.g. you have a dry, air interface, objective), you can unlock the outer wells by clicking the lock icon in the top left corner of the UI.
Please go to Navigation in Well-Plate View for next steps.